|
| 04-12-2017, 10:50 AM | #1 |
|
Private
 7
Rep 76
Posts |
BMC Air Filter Install G11/G12 750
Hello Everyone. I purchased a set of BMC air filters for my 750 (part number FB930/01) and decided to install them yesterday. I thought I would post the install process in case anyone else was thinking of changing out their air filters. The quality is top notch on these filters and they fit like a glove. Im hoping there will be a bit of Hp increase as well as some better MPGs.
Anyway. Here is the run down on installation. Tools Needed: Flat Head Screw Driver T25 Torx 1. First open the hood. Pull the hood release lever twice to unlatch. 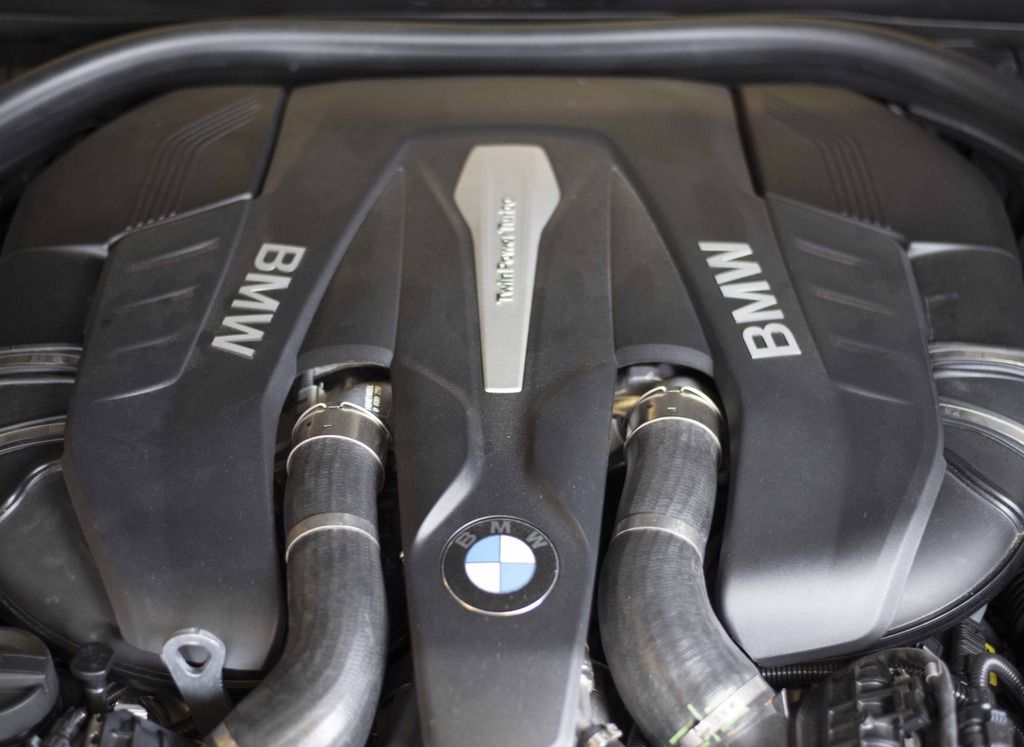 2. Remove the engine cover. Arrows point to where there are pegs holding it on. 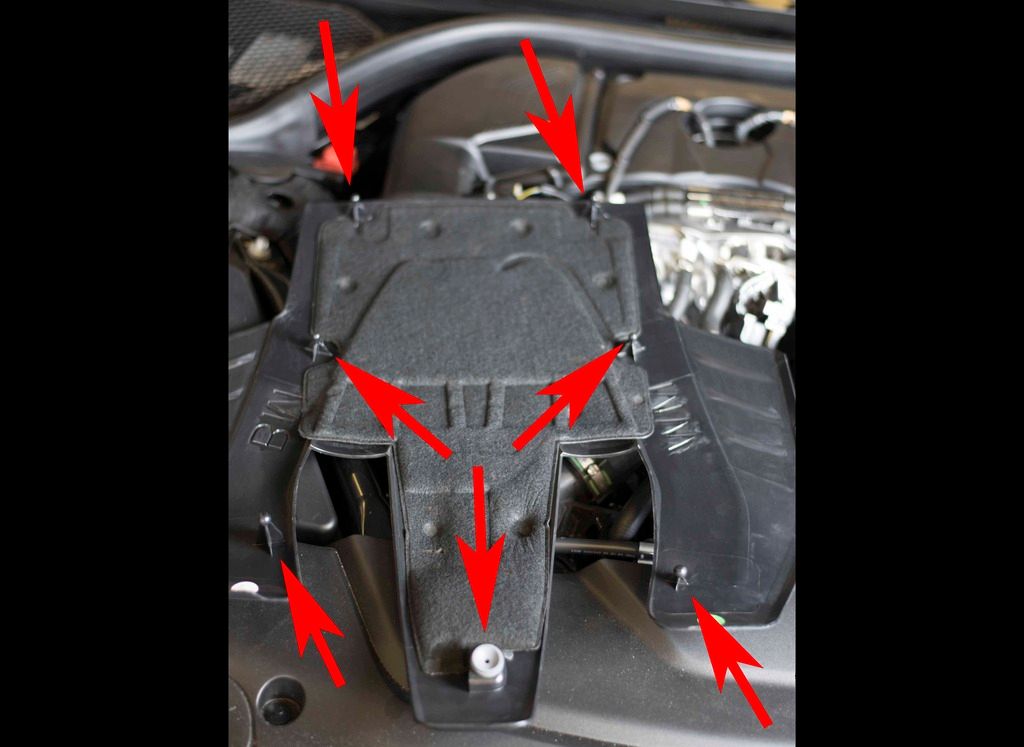 3. Remove Mass Air Flow Sensor Plug. Gently pull back on the white plastic clip. 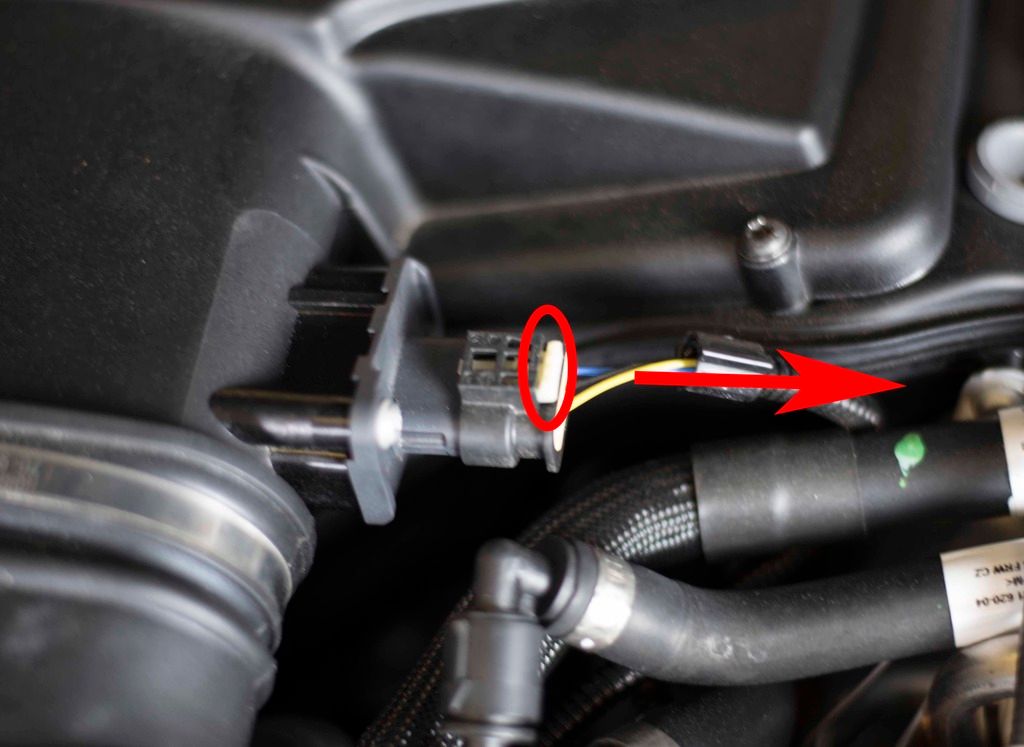 4. Once you pull back on it press down and remove the plug from the sensor. **Be Careful the white clip will come out of the plug and fall down into the engine somewhere. I know because this happened to me** 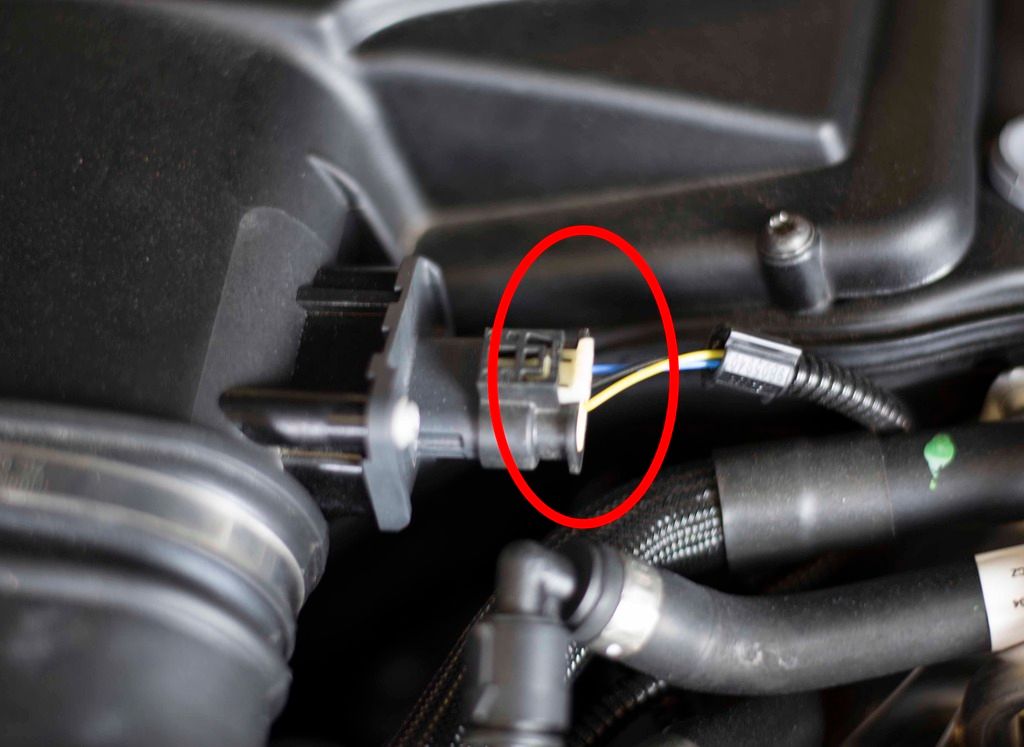 5. Loosen the 4 T25 Torx screws that old the air box cover on. The screws will stay in the cover once they are loose. 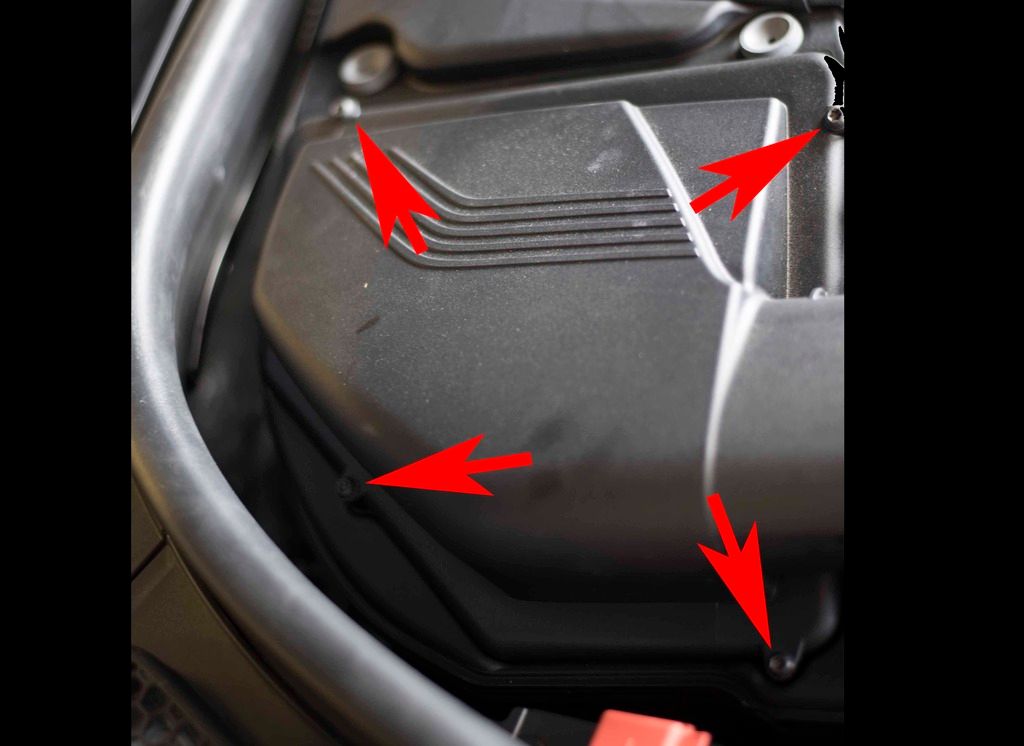 6. Using a Flat Head screw driver loosen the clamp closet to the front of the vehicle. This one is easier to remove and get back on. Loosen the clamp enough so it can be slip out of the rubber groove on the coupler. 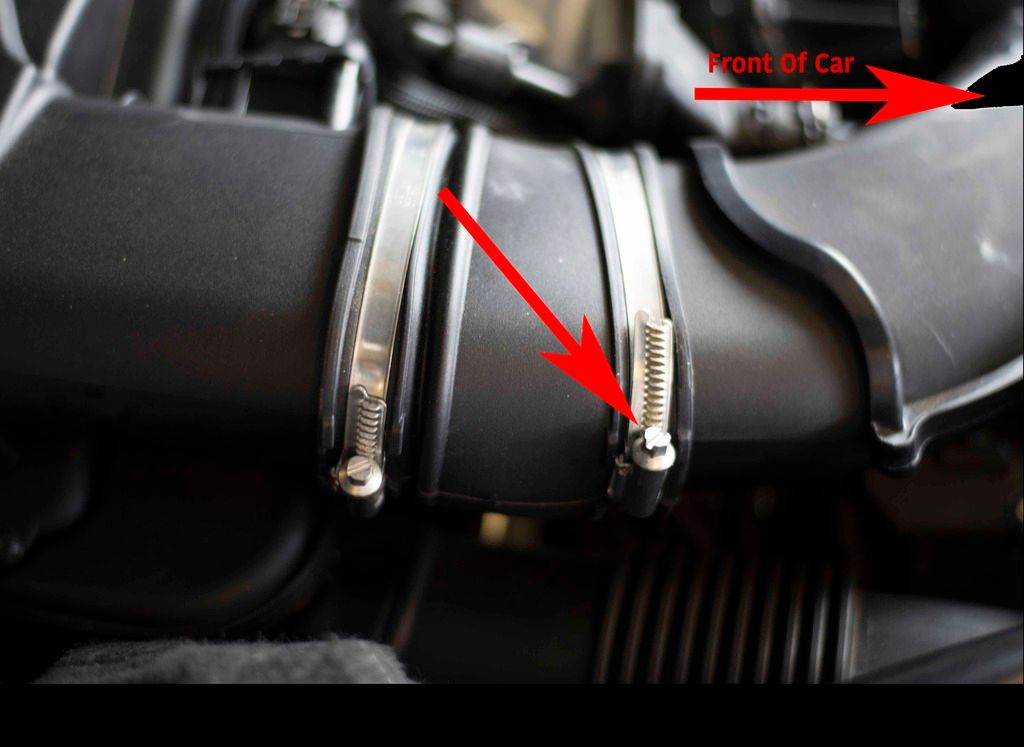 7. Gently pull out of the coupler while gripping the air box and twist towards the middle of the car to remove the lid. 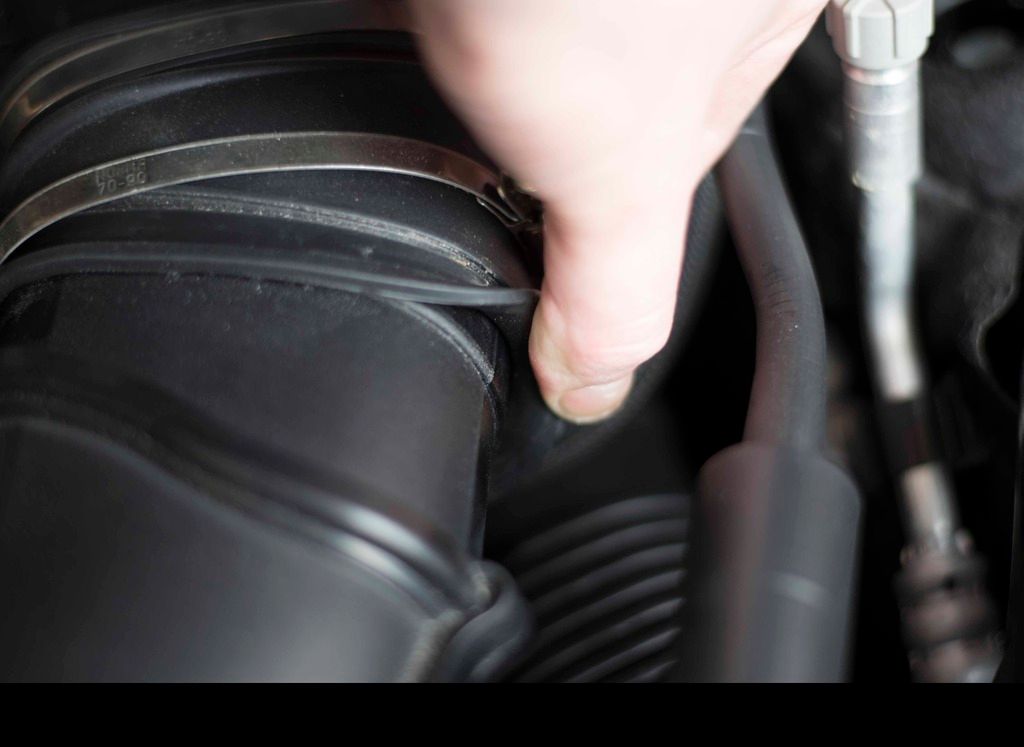 8. Repeat these steps for the other side of the engine. You are ready to remove the factory filters. 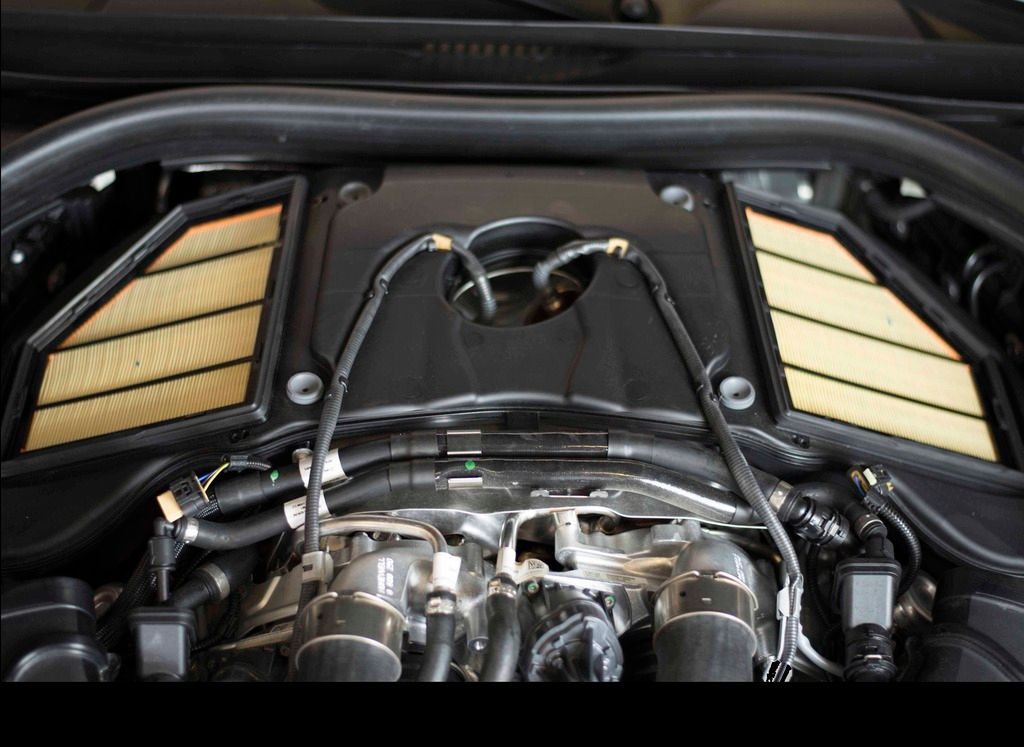 9. Once removing I recommend using a small handheld vacuum to get any dirt that might of built up inside the air box out. 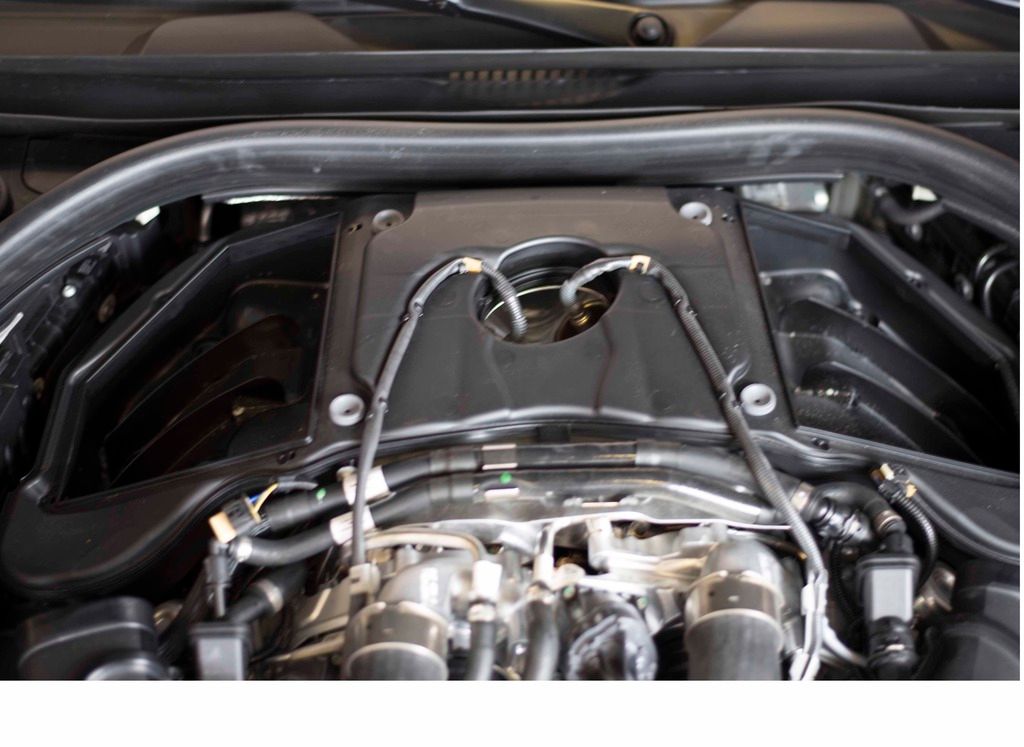 10. You are now ready to install the new air filters.  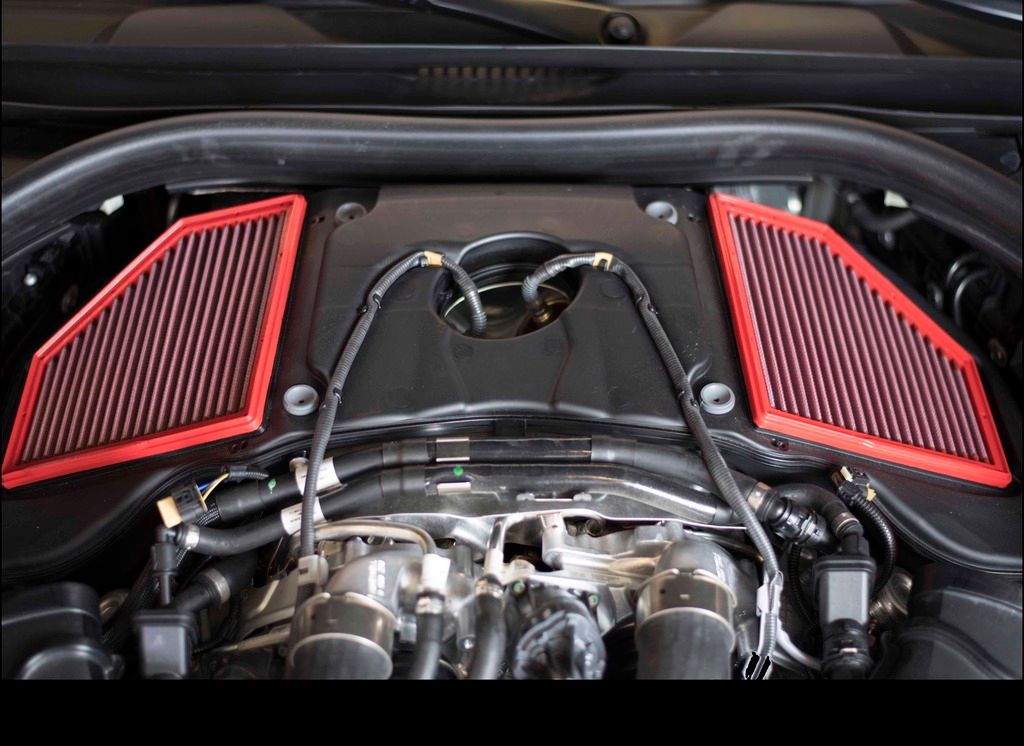 11. Install everything in the reverse order. if you have any trouble getting the rubber coupler back on you can use some white lithium grease to help. Also don't forget to push the white clips back in on the Mass Air Flow sensor plug after you have clipped it back on to the sensor. Here are some additional pics.  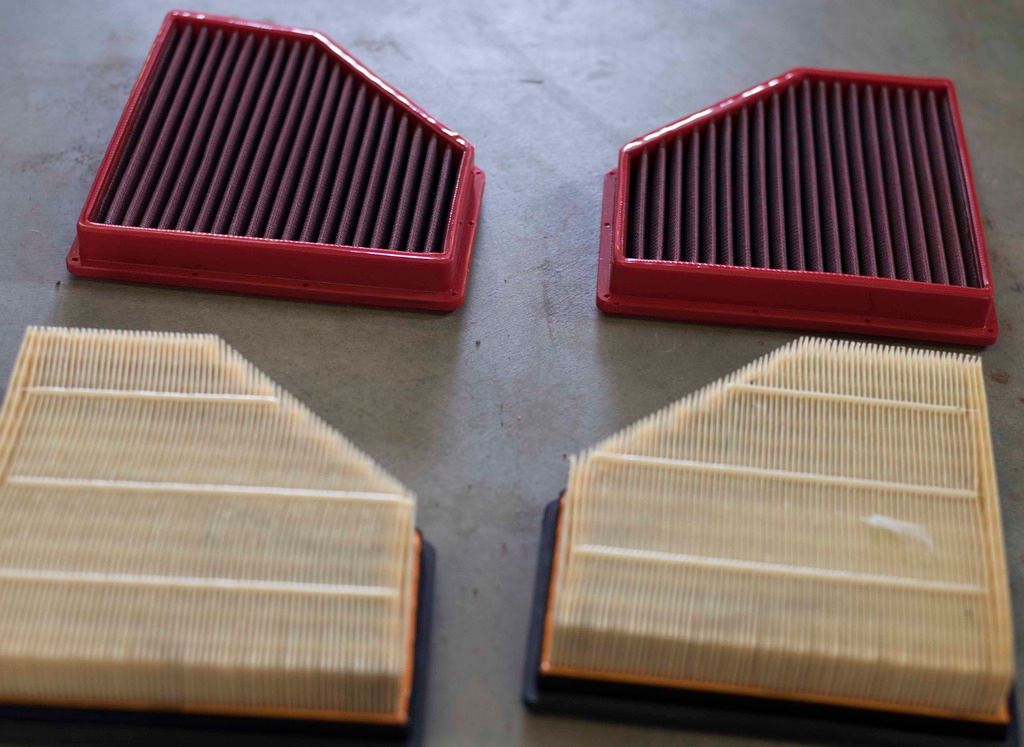 Let me know if anyone has any questions. It is pretty simple to do. Just thought I would make a step by step in case anyone was hesitant on doing it themselves. Cheers  |
| 05-27-2017, 01:12 PM | #3 |
|
///M Fan
1657
Rep 1,490
Posts |
Purchased mine from a distributor in Ohio for around $180. Slipped my tech a little cash and he popped them in the car in less than 15 minutes. FYI the G12 Alpina B7 does not have carbon filters either.
Noushy
__________________
2019 BMW X5 50i Mineral White/Tartufo all options including M Sport
2022 Porsche 911 C4S Silver/Brown 2023 BMW iX M60 Black Sapphire/Amido, Titanium Bronze trim/22 2023 Audi RS6 Avant Daytona Gray/Black 2024 BMW X5M Comp Brooklyn Gray/Taruma Brown, Titanium Exhaust on order |
|
Appreciate
0
|
| 06-19-2017, 10:19 AM | #5 | |
|
Private
7
Rep 76
Posts |
Thanks
Quote:
To answer your question, you can feel a small difference in the new filters. Obviously there's no huge power gains, but the car does feel like it's breathing much better. |
|
|
Appreciate
0
|
| 06-24-2017, 10:54 AM | #6 | |
|
Herr Oberst
244
Rep 531
Posts |
Quote:
We use very similar oiled cotton filters in aviation, and you could fly an aircraft in Iraqi moondust for days--to the point where it was caked on the filter and you had to bang them out on the ground--before you'd see any rise in turbine outlet temps (which is the #1 indicator of intake restriction). Simply put, you're not going to get any performance value out of these. They do, however, do an exceptional job of air filtration.
__________________
'15 X5 35d
'16 740i Last edited by lowlevelhell; 06-24-2017 at 10:59 AM.. |
|
|
Appreciate
0
|
Post Reply |
| Bookmarks |
| Thread Tools | Search this Thread |
|
|


